


Deploy Kube AI Hub on AKS
This guide walks you through the steps of deploying Kube AI Hub on Azure Kubernetes Service.
Prepare an AKS cluster
Azure can help you implement infrastructure as code by providing resource deployment automation options. Commonly adopted tools include ARM templates and Azure CLI. In this guide, we will use Azure CLI to create all the resources that are needed for the installation of Kube AI Hub.
Use Azure Cloud Shell
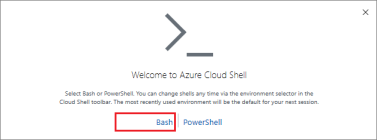
You don't have to install Azure CLI on your machine as Azure provides a web-based terminal. Click the Cloud Shell button on the menu bar at the upper-right corner in Azure portal.
![]()
Select Bash Shell.
Create a Resource Group
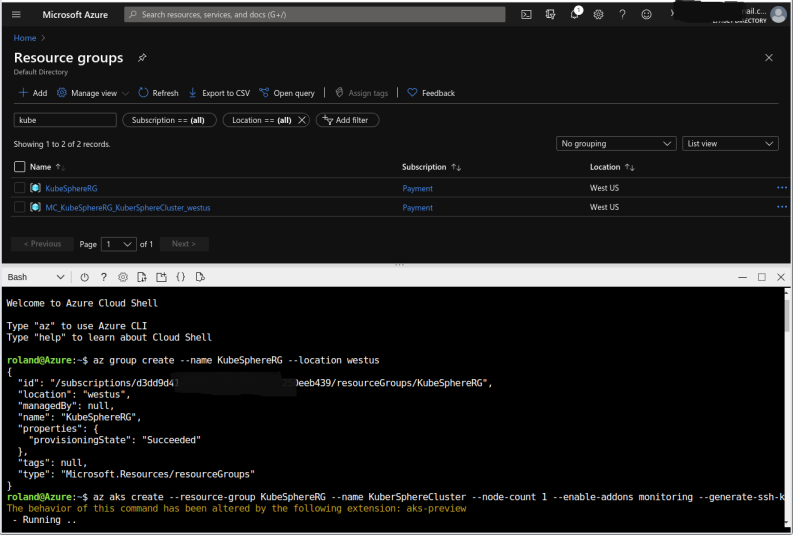
An Azure resource group is a logical group in which Azure resources are deployed and managed. The following example creates a resource group named Kube AI HubRG in the location westus.
az group create --name Kube AI HubRG --location westus
Create an AKS Cluster
Use the command az aks create to create an AKS cluster. The following example creates a cluster named KuberSphereCluster with three nodes. This will take several minutes to complete.
az aks create --resource-group Kube AI HubRG --name KuberSphereCluster --node-count 3 --enable-addons monitoring --generate-ssh-keys
Note
--node-vm-size or -s option to change the size of Kubernetes nodes. The default node size is Standard_DS2_v2 (2vCPU, 7GB memory). For more options, see az aks create.Connect to the Cluster
To configure kubectl to connect to the Kubernetes cluster, use the command az aks get-credentials. This command downloads the credentials and configures that the Kubernetes CLI will use.
az aks get-credentials --resource-group Kube AI HubRG --name KuberSphereCluster
$ kubectl get nodes
NAME                                STATUS   ROLES   AGE   VERSION
aks-nodepool1-23754246-vmss000000   Ready    agent   38m   v1.16.13
Check Azure Resources in the Portal
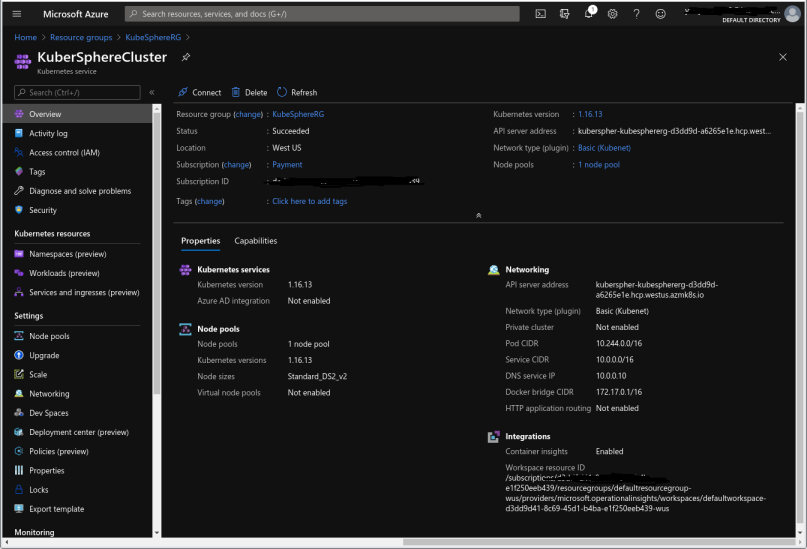
After you execute all the commands above, you can see there are 2 Resource Groups created in Azure Portal.
Azure Kubernetes Services itself will be placed in Kube AI HubRG.
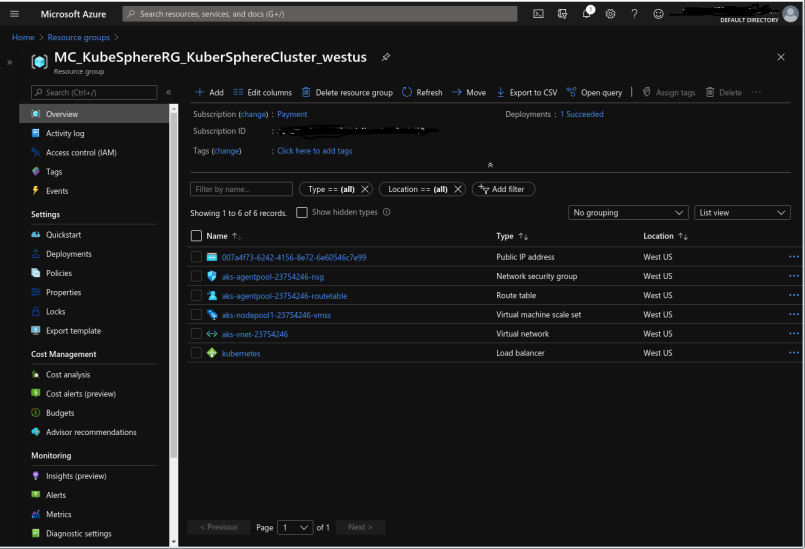
All the other Resources will be placed in MC_Kube AI HubRG_KuberSphereCluster_westus, such as VMs, Load Balancer and Virtual Network.
Deploy Kube AI Hub on AKS
To start deploying Kube AI Hub, use the following commands.
kubectl apply -f https://github.com/kubesphere/ks-installer/releases/download/v3.4.1/kubesphere-installer.yaml

kubectl apply -f https://github.com/kubesphere/ks-installer/releases/download/v3.4.1/cluster-configuration.yaml
You can inspect the logs of installation through the following command:
kubectl logs -n kubesphere-system $(kubectl get pod -n kubesphere-system -l 'app in (ks-install, ks-installer)' -o jsonpath='{.items[0].metadata.name}') -f
Access Kube AI Hub Console
To access Kube AI Hub console from a public IP address, you need to change the service type to LoadBalancer.
kubectl edit service ks-console -n kubesphere-system
Find the following section and change the type to LoadBalancer.
spec:
  clusterIP: 10.0.78.113
  externalTrafficPolicy: Cluster
  ports:
  - name: nginx
    nodePort: 30880
    port: 80
    protocol: TCP
    targetPort: 8000
  selector:
    app: ks-console
    tier: frontend
    version: v3.4.1
  sessionAffinity: None
  type: LoadBalancer # Change NodePort to LoadBalancer
status:
  loadBalancer: {}
After saving the configuration of ks-console service, you can use the following command to get the public IP address (under EXTERNAL-IP). Use the IP address to access the console with the default account and password (admin/P@88w0rd).
$ kubectl get svc/ks-console -n kubesphere-system
NAME         TYPE           CLUSTER-IP    EXTERNAL-IP   PORT(S)        AGE
ks-console   LoadBalancer   10.0.181.93   13.86.xxx.xxx   80:30194/TCP   13m       6379/TCP       10m
Enable Pluggable Components (Optional)
The example above demonstrates the process of a default minimal installation. For pluggable components, you can enable them either before or after the installation. See Enable Pluggable Components for details.
 Previous
