


OAuth 2.0身份提供者
本文档介绍了如何使用基于 OAuth 2.0 协议的外部身份提供者。
下图显示了 Kube AI Hub 与外部 OAuth 2.0 身份提供者之间的身份验证过程。

准备工作
您需要部署一个 Kubernetes 集群,并在集群中安装 Kube AI Hub。有关详细信息,请参阅在 Linux 上安装和在 Kubernetes 上安装。
开发 OAuth 2.0 插件
备注
-
在本地克隆 Kube AI Hub ,进入本地 Kube AI Hub 仓库,并在
/pkg/apiserver/authentication/identityprovider/目录下创建一个插件的包。 -
在插件包中,实现如下接口:
// /pkg/apiserver/authentication/identityprovider/oauth_provider.go
type OAuthProvider interface {
	// Exchange identity with a remote server.
	IdentityExchange(code string) (Identity, error)
}

type OAuthProviderFactory interface {
	// Return the identity provider type.
	Type() string
	// Apply settings from kubesphere-config.
	Create(options oauth.DynamicOptions) (OAuthProvider, error)
}
// /pkg/apiserver/authentication/identityprovider/identity_provider.go type Identity interface { // (Mandatory) Return the identifier of the user at the identity provider. GetUserID() string // (Optional) Return the name of the user to be referred as on Kube AI Hub. GetUsername() string // (Optional) Return the email address of the user. GetEmail() string } -
在插件包的
init()函数中注册插件。// Custom plugin package func init() { // Change <StructName> to the actual name of the struct that // implements the OAuthProviderFactory interface. identityprovider.RegisterOAuthProvider(&<StructName>{}) } -
在
/pkg/apiserver/authentication/options/authenticate_options.go中导入插件包。// Change <CustomPackage> to the actual name of your plugin package. import ( ... _ "kubesphere.io/kubesphere/pkg/apiserver/authentication/identityprovider/<CustomPackage>" ... ) -
构建 ks-apiserver 镜像 并部署到您的集群中。
集成身份提供者
-
以
admin身份登录 Kube AI Hub,将光标移动到右下角 ,点击 kubectl,然后执行以下命令来编辑 CRD
 ClusterConfiguration中的ks-installer:kubectl -n kubesphere-system edit cc ks-installer -
在
spec:authentication部分配置的oauthOptions:identityProviders以外的字段信息请参阅设置外部身份认证。 -
根据开发的身份提供者插件来配置
oauthOptions:identityProviders中的字段。以下是使用 GitHub 作为外部身份提供者的配置示例。详情请参阅 GitHub 官方文档和 GitHubIdentityProvider 源代码 。
spec:
  authentication:
    jwtSecret: ''
    authenticateRateLimiterMaxTries: 10
    authenticateRateLimiterDuration: 10m0s
    oauthOptions:
      accessTokenMaxAge: 1h
      accessTokenInactivityTimeout: 30m
      identityProviders:
      - name: github
        type: GitHubIdentityProvider
        mappingMethod: auto
        provider:
          clientID: '******'
          clientSecret: '******'
          redirectURL: 'https://ks-console/oauth/redirect/github'
同样,您也可以使用阿里云 IDaaS 作为外部身份提供者。详情请参阅阿里云 IDaaS 文档和 AliyunIDaasProvider 源代码。
-
字段配置完成后,保存修改,然后等待 ks-installer 完成重启。
备注
Kube AI Hub Web 控制台在 ks-installer 重新启动期间不可用。请等待重启完成。 -
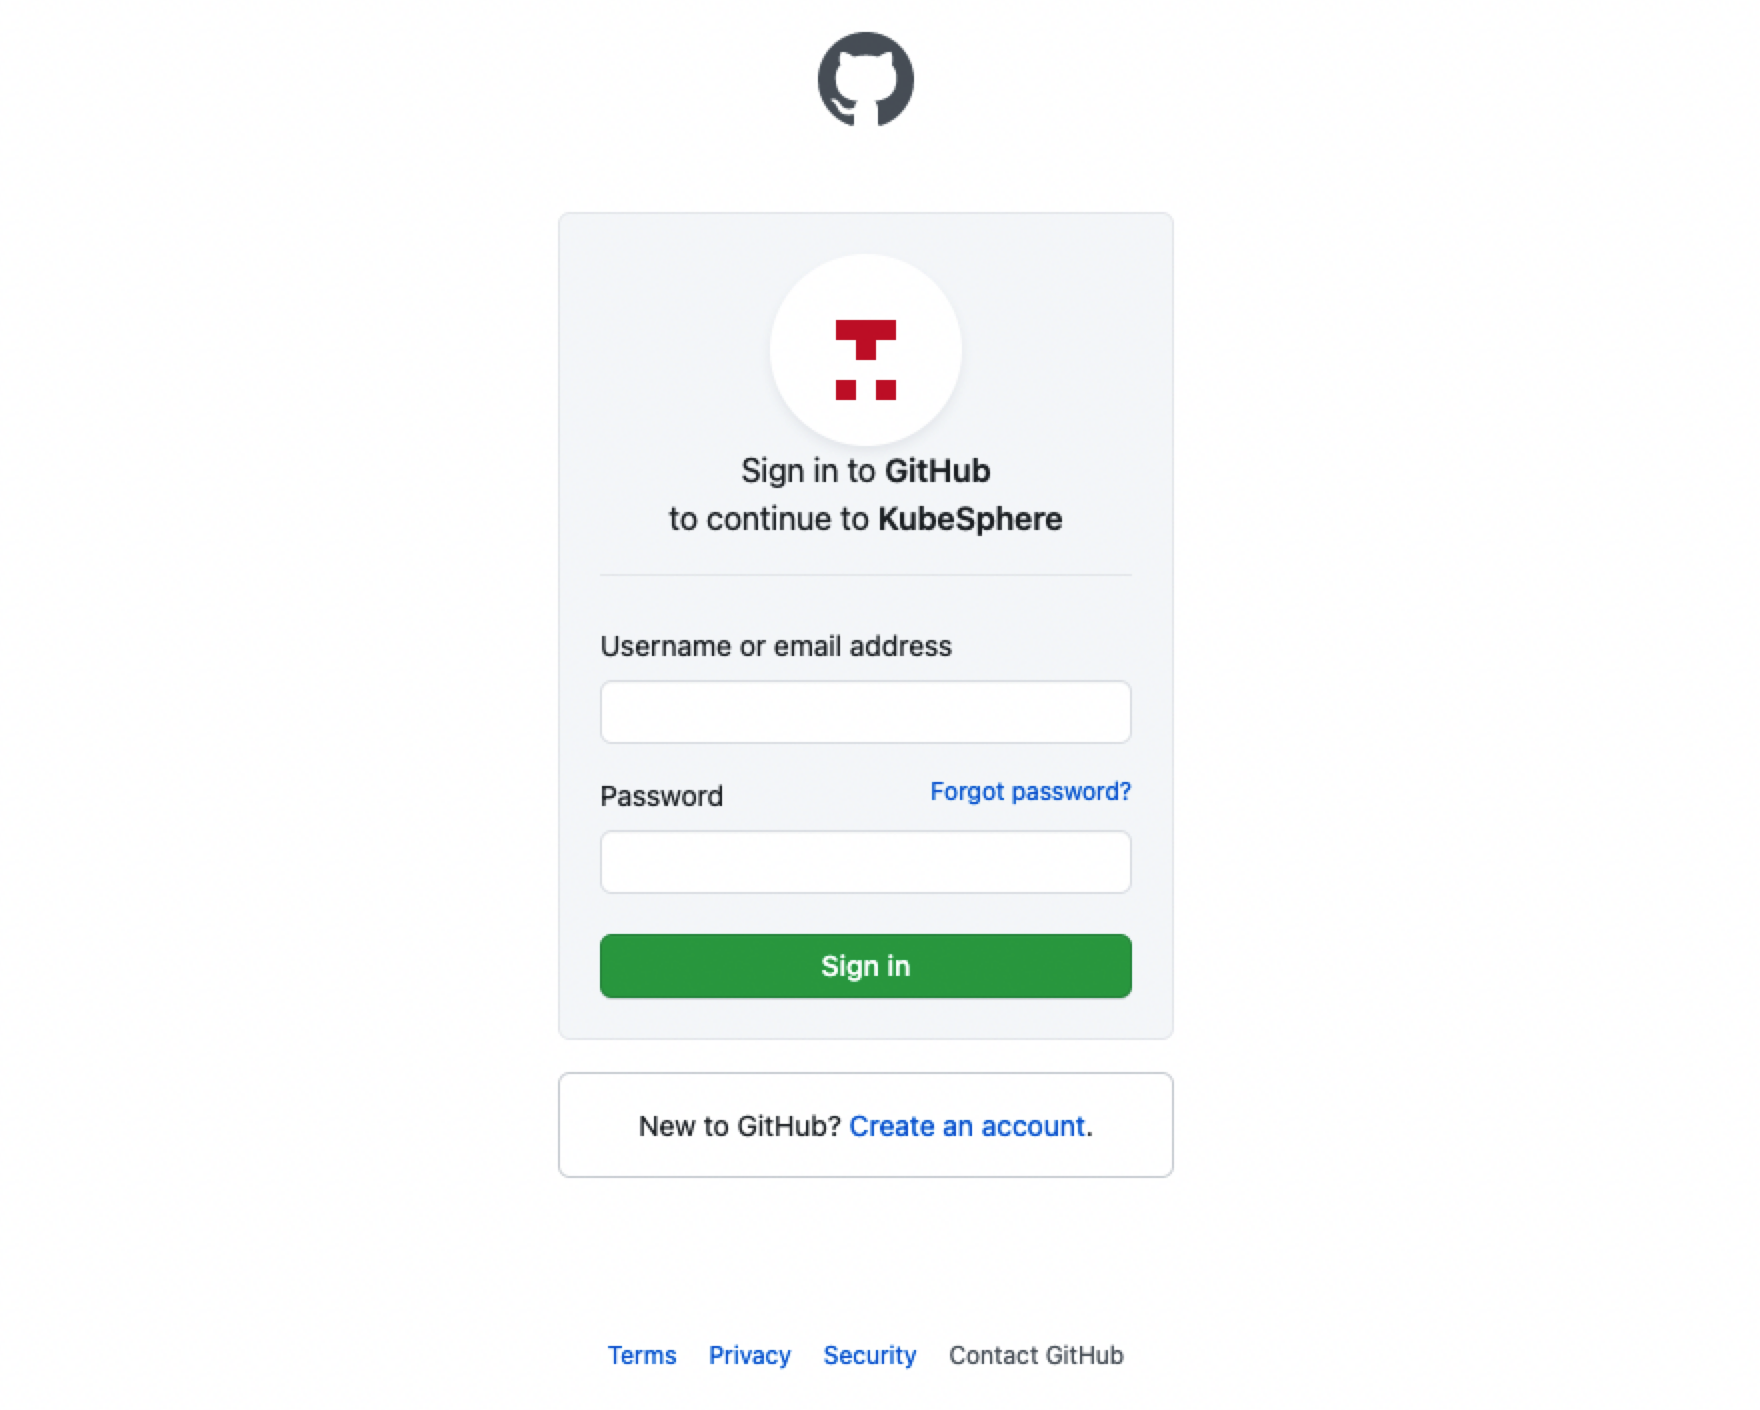
进入 Kube AI Hub 登录界面,点击 Log In with XXX (例如,Log In with GitHub)。
-
在外部身份提供者的登录界面,输入身份提供者配置的用户名和密码,登录 Kube AI Hub 。
 上一篇
上一篇
